 First of all, I have always been addicted to trying the newest and most "amazing" products out there. As a young girl, I had various subscriptions to fashion and beauty magazines starting at age 11. I was every editorials' dream because I read each issue cover to cover, tabbing pages with that particular month's new breakthrough lotion, potion, and cosmetics. Wanting to see if the miraculous claims were true, I would go out and buy these products, discarding the ones that were guilty of false advertising and RAVING about the ones I saw any positive outcome from. I became the go-to girl to see what products were worth buying from those closest to me.
Now, I'm on to the new adventure of trial and error with the world of natural, eco-friendly, animal-friendly, human-friendly body products, cosmetics, & beauty regimes. One of my newest favorites? My lymphatic dry brush! I have come across the positive claims before but didn't actually buy into it until I started reading Sara Gottfried's fabulous new book, The Hormone Reset Diet. She claims that it's a great way to promote healthy detoxification and increased circulation. It also helps eliminate cellular waste products. So cute, huh? After seeking out more information, I thought it would probably be a wonderful regimen to improve the quality of my skin and smooth out some of my unfavorable cellulite. (Thanks to genes, I have consistently had cellulite since I was 9 and, even, at my lightest.) Daily, I began dry brushing in the morning, as instructed on the product's pamphlet, in quick strokes, starting at my feet and moving upward, all in the direction of my heart. I would complete this process by massaging grapeseed oil (improves circulation), mixed with coconut oil (vitamin E and fatty acids), and a drop or two of geranium essential oil (promotes cell regeneration, improves elasticity, and the smell is a natural mood-booster). Let me tell you, this little cocktail works like a charm! I saw results within a few weeks! Which is a stark contrast to the products I've used in the past...trust me, anything at CVS won't work. I've tried them all. Don't believe me? Try it out for two weeks and see for yourself! Want to know why it works? Dr. Mercola explains it better than I do: http://articles.mercola.com/sites/articles/archive/2014/02/24/dry-skin-brushing.aspx
0 Comments
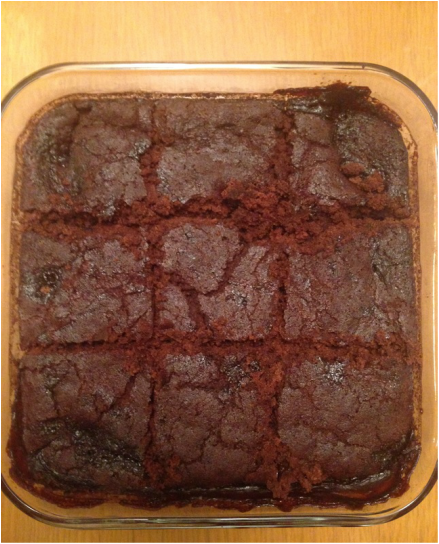 Years ago, I purchased this fabulous cookbook that had a collection of some of the best recipes from church cookbooks from around the U.S. I had never actually used it until recent...and I'm really happy I did! Of course, none of the scrumptious comfort foods featured are considered "clean" but in the past 3 years, I've become quite the pro at cleaning up recipes! This one is officially one of my favorites! Ingredients: - 1 cup - brown rice flour - 3/4 cup - xylitol, erythritol, lakanto, or brown coconut sugar (I used a blend of xylitol and white lakanto) - 6 teaspoons - unsweetened, raw, organic cocoa powder, divided - 2 teaspoons - baking powder, aluminum-free - 1/4 teaspoon - sea salt or pink salt - 1/2 cup - organic, unsweetened coconut milk - if canned, BPA-free liner. Unsweetened almond milk and/or coconut milk from the carton also works. - 2 tablespoons - raw, organic coconut oil, softened or melted - 1 teaspoon of organic vanilla extract - 1/4--1/2 cup of organic brown coconut sugar and/or brown lakanto (I used a blend of the two. Since I gave up sugar years ago, I personally preferred the version with just 1/4 cup but my audience of taste testers liked the sweeter version, using 1/2 cup. (Lakanto has no effect on your blood sugar and brown coconut sugar is a low glycemic sweetener.) - 1 3/4 cups - hot water 1. Preheat oven to 350 degrees. 2. Combine flour, white sweetener, 2 tablespoons of cocoa, baking powder, and salt in a large bowl. Then, add oil and vanilla and mix until smooth. Spread batter in an ungreased 9 x 9 x 2-inch baking pan. 3. Combine brown sweetener and remaining 4 tablespoons of cocoa. Sprinkle evenly over top of batter. 4. In a teapot or pan, heat water almost to a boil. (I just added about 2 cups of water to a kettle and once hot, measured out the 1 3/4 cup.) Pour hot water evenly over all of your mixture in pan. Do not stir. 5. Bake for 35-40 minutes. Cool in pan for 10 minutes before cutting to serve. The bottom of this cake will be a gooey consistency. Enjoy! 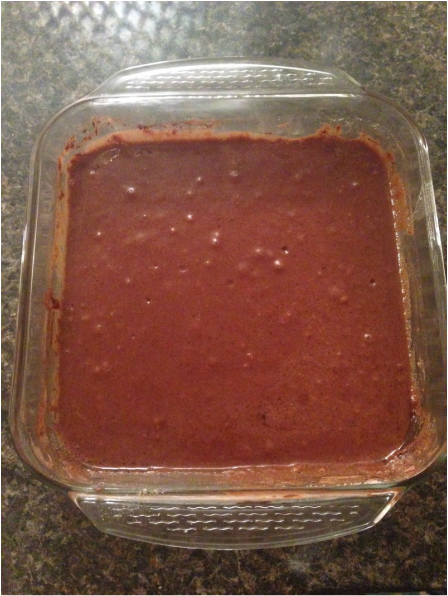 After the batter is poured. 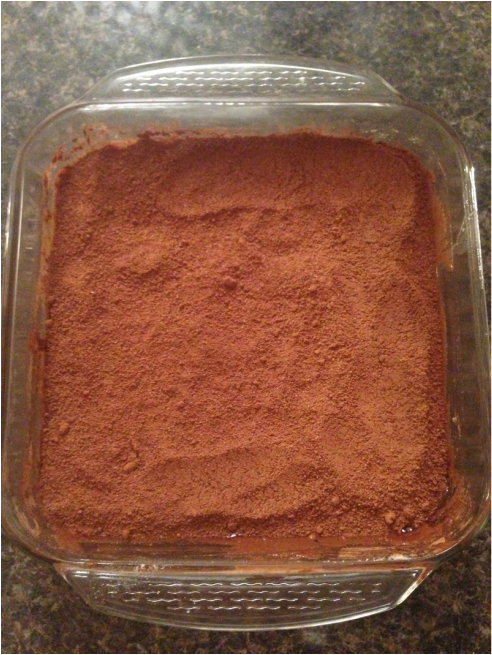 After you've evenly covered the top with cocoa and brown sweetener mixture. 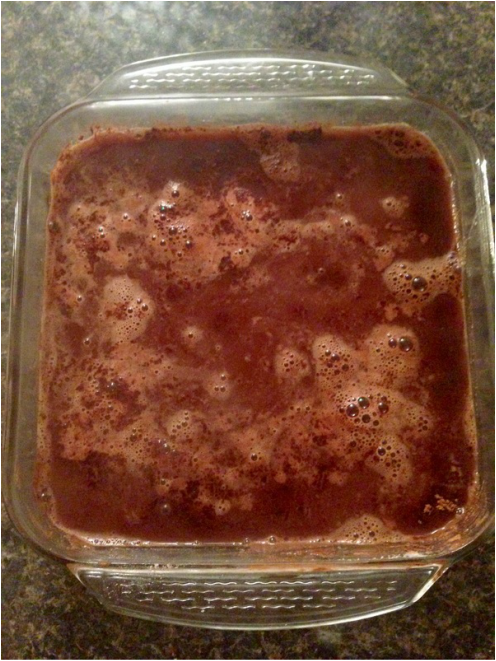 After you've evenly covered the top with hot water. 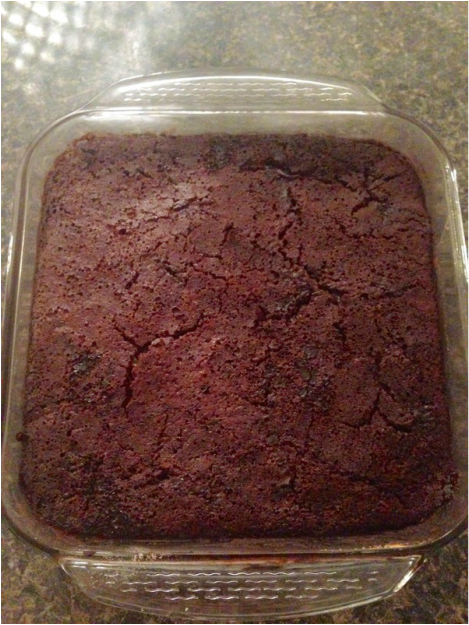 Voila! As you can see, this version looks a tad different from the top version I made. This particular cake I used 1/4 cup sweetener vs. the 1/2 cup. I also diluted the canned coconut milk with a little bit of water to see what it would do if someone were to use a thinner coconut or almond milk from the carton. Other than appearance, the taste didn't really differ, other than sweetness, of course because of the sweetener reduction. The texture was slightly different but not enough to prefer one method over another. |
Archives
May 2020
Categories
All
|
 RSS Feed
What Specialists Are Saying About IIN Health Coaches
What is a Health Coach?
All material and information presented by The Radiance Refinery is intended to be used for educational purposes only. The statements made about products, supplements, or treatments have not been evaluated by the Food and Drug Administration (FDA). The information presented on The Radiance Refinery is not intended to treat, cure, or prevent any condition or disease. Please consult with your own physician or health care practitioner before making changes to your diet, exercise routine, or lifestyle.
Privacy Policy Accessibility Cookies